
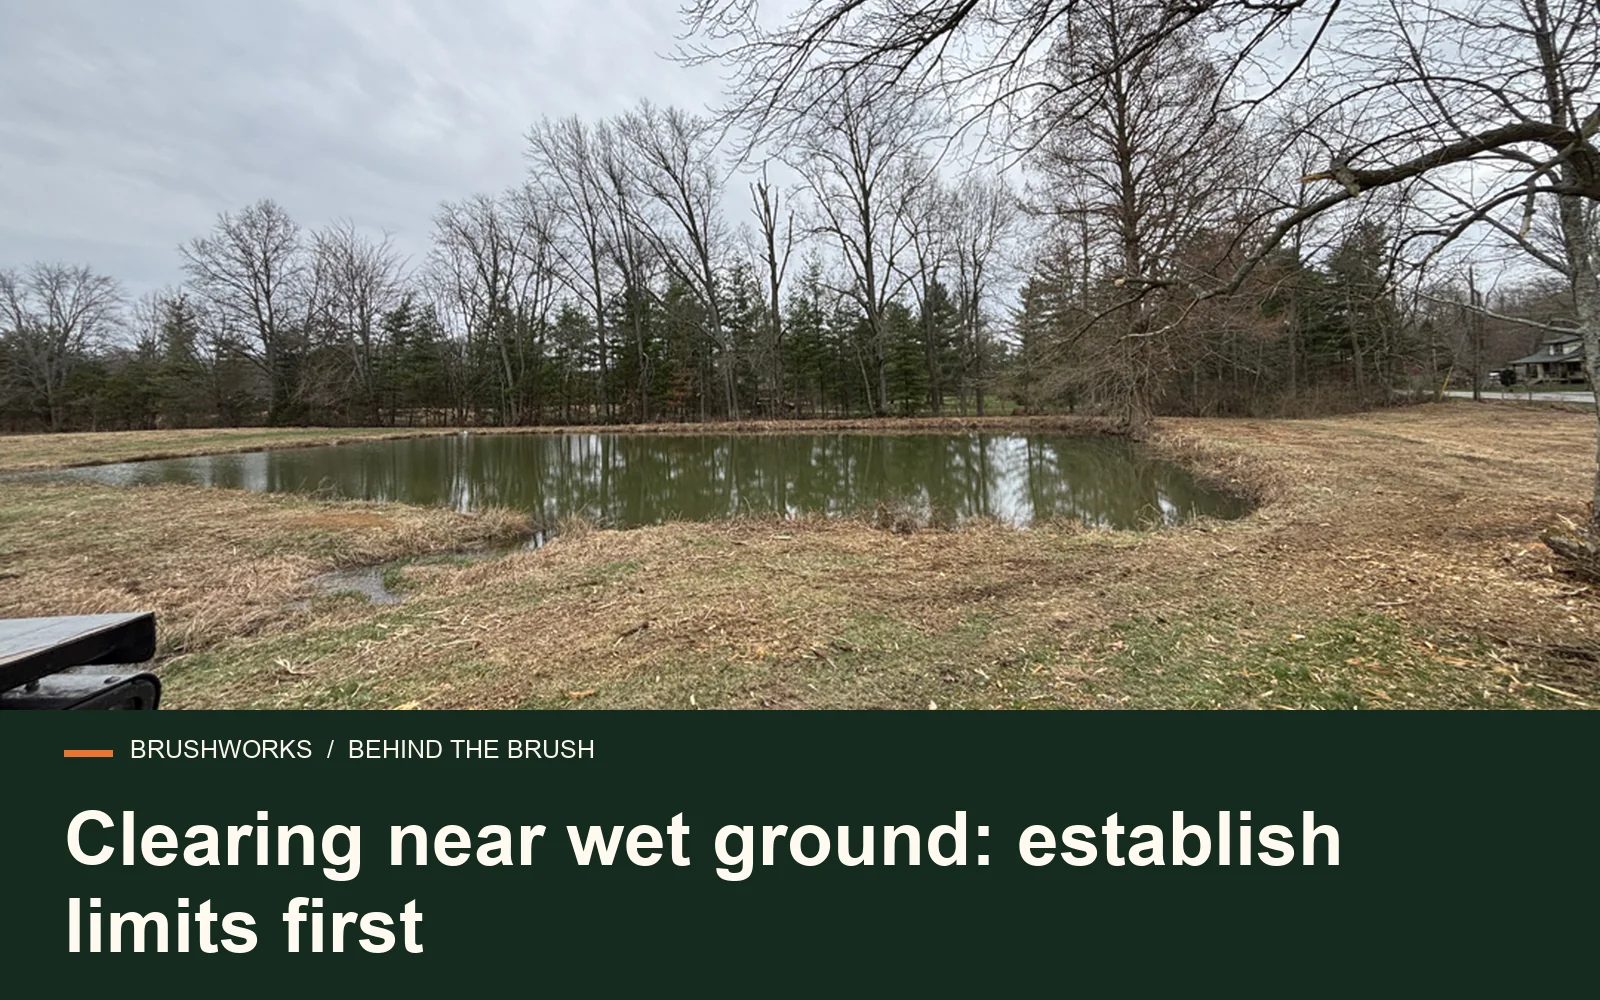
Before you start
- Consult qualified water-resource and permitting contacts.
- Mark buffers and no-go areas.
- Keep fill, chips, and equipment out of protected ground.
Establish the boundary before the work
An online wetland map is a screening tool, not a final site determination. Areas that are dry during a visit may still need review. Ask qualified water-resource professionals and the relevant agencies what assessment is needed for the proposed activity.
Provide the entire work plan, including equipment access, stockpiles, debris placement, and drainage changes—not only the final cleared footprint.
Protect the edge as part of the scope
Mark no-go areas clearly. Keep cut material and mulch out of channels and protected ground. Retained vegetation may help protect the edge, so avoid a blanket instruction to clear everything down to water.
Equipment traffic can damage soft soils even without grading. Decide where machinery can operate and how material will be removed before work begins.
Stop when conditions differ from the plan
Unexpected seepage, saturated ground, channels, or unmarked structures are reasons to pause and reassess. Do not extend a clearing area simply because the equipment is already on site.
Photograph the work limits and inspect runoff afterward. If the project needs fill, crossings, bank work, or altered drainage, have those tasks reviewed separately rather than including them casually in brush cleanup.
Keep the access route in the review
A project can avoid a sensitive final footprint but still cause a problem along the equipment route. Show professionals how machinery reaches the clearing area, where it turns, and where processed material or excavated soil would be placed. Those movements belong in the assessment.
Ask how the approved limits will be marked and who can authorize a change. Take photographs of the marked area before work begins. Keep an accessible copy of the plan on site. If a new contractor joins later, walk the limits with that person instead of assuming everyone understands which edge of the vegetation marks the boundary.
Plan the work for your property
Send the site address, recent photos, a marked clearing area, and the finish you want. We can discuss where clearing fits and what needs a different trade.
Discuss your project → Explore pricing